After some research along with @luojia, NickCao, Icenowy, we seem to have figured out how to connect to the JTAG port on VisionFive. In other words, it seems that 请问如何JTAG调试Visionfive板子? is solved.
Massive thanks to them for the work; I’m just here to report what we now know. Any mistakes in the following descriptions, however, are my own.
There are two locations on the board where a JTAG port is available, marked a and b in this photo:
First is location a, the seven through-holes next to the 40-pin connectors:
The other is location
b, pins 35 through 40 on the 40-pin connector, which are labelled both GPIO0...4 and U74_{TCK,TMS,TDI,TDO,TRSTN} on the schematic
On location a, JTAG access is available in these cases:
- Just after powering up or reset (unlikely to hit)
- Booting with
BOOT MODEbutton held down to enter UART recovery console
After the bootloader is started, JTAG switch from location a to location b. However, by default Linux (at least the version found in https://github.com/starfive-tech/linux) disconnects them at startup, which leaves neither location a nor location b having a JTAG connection.
To preserve JTAG access on location b, either of the following will work:
-
Append
pinctrl-starfive.keepmux=1to the kernel command line -
Patch
jh7100-starfive-visionfive-v1.dtsso that the linestarfive,keep-gpiomux = <13 14 63>;becomes
starfive,keep-gpiomux = <0 1 2 3 4 13 14 63>;
After connecting, debugging will work with riscv-openocd. This is the config script for OpenOCD I’ve used. I’ve been using a Raspberry Pi as an adapter connected to JTAG location b. If you’re using another adapter, the first few lines might need changing.
# config.tcl

adapter driver linuxgpiod

linuxgpiod gpiochip 0
linuxgpiod jtag_nums 11 25 10 9
linuxgpiod trst_num 7

reset_config trst_only

transport select jtag

jtag newtap e24 cpu -irlen 5 -expected-id 0x200005fd
jtag newtap u74 cpu -irlen 5 -expected-id 0x200003fd

target create e24.cpu0 riscv -chain-position e24.cpu -coreid 0
target create u74.cpu0 riscv -chain-position u74.cpu -coreid 0 -rtos hwthread
target create u74.cpu1 riscv -chain-position u74.cpu -coreid 1
target smp u74.cpu0 u74.cpu1

init
Start OpenOCD with:
$ openocd -f config.tcl
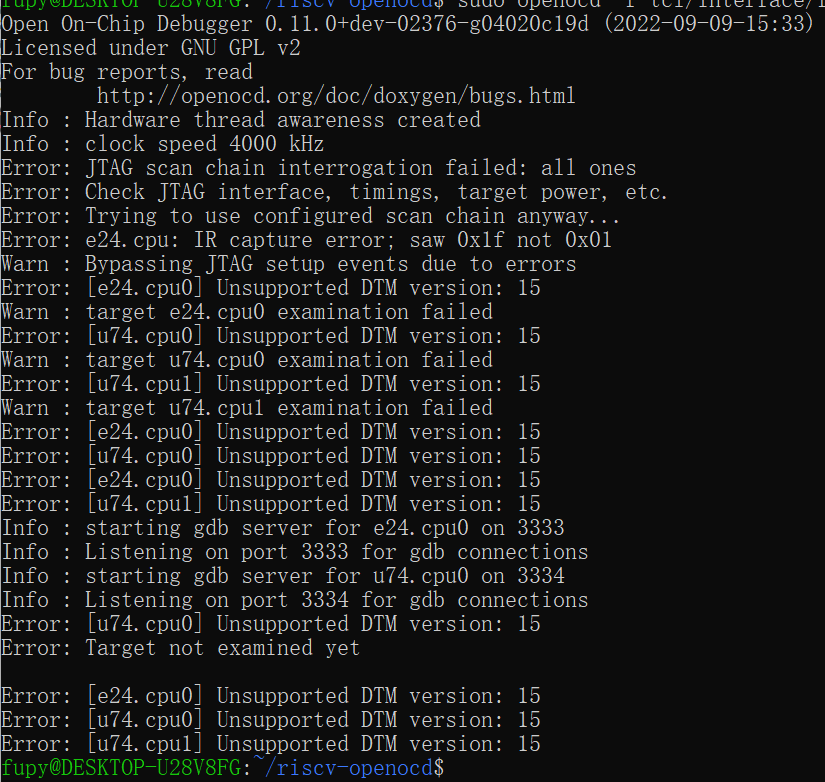
The E24 core and the U74 cores are on separate TAPs, so two gdbserver ports will be available. In this case, port 3334 was the U74 cores, and I was able to halt cores read some CSRs:
Known issues
For an unknown reason, debug access seems to be exceedingly slow or even unusable when Linux is running. I have successfully halted and resumed the U74 cores under Linux. It’s just frustrating.
The E24 core does not respond to the debugger when Linux is running. Comment out the line target create e24.cpu0 ... seems to help avoid OpenOCD getting stuck, and might also help with the previous issue.
What’s going on?
If I find the time and energy, which I hope I do, I’ll write a blog post containing more details on how these were found.


