Hi,
I am interested in bare metal programming of the board.
I can confirm that a jlink edu can work with the Visionfive 2.
Firstly I want to thank everyone out there for sharing info that helped me to get this working.
Here is what I did to get it to work:
- created a file called myscript that contained:
int InitTarget(void) {
//
// TDI → TAP_#1 → TAP_#0 → TDO
//
// TAP_#0 info:
// IRLen: 5
// TAPId: 0xDEB11001
//
// TAP_#1 info:
// IRLen: 5
// TAPId: 0x20000913
//
//
// Code to connect to TAP_#1
//
JLINK_JTAG_DRPre = 1;
JLINK_JTAG_DRPost = 0;
JLINK_JTAG_IRPre = 5;
JLINK_JTAG_IRPost = 0;
JLINK_JTAG_IRLen = 5;
JLINK_JTAG_SetDeviceId(0, 0xDEB11001);
JLINK_JTAG_SetDeviceId(1, 0x20000913);
return 0;
}
- created a file called jconnect that contained:
#!/bin/bash
JLinkExe -JLinkScriptFile /myscript -device U74-mc -if JTAG -speed 15000 -jtagconf -1,-1 -AutoConnect 1
- connect your jlink using this info:
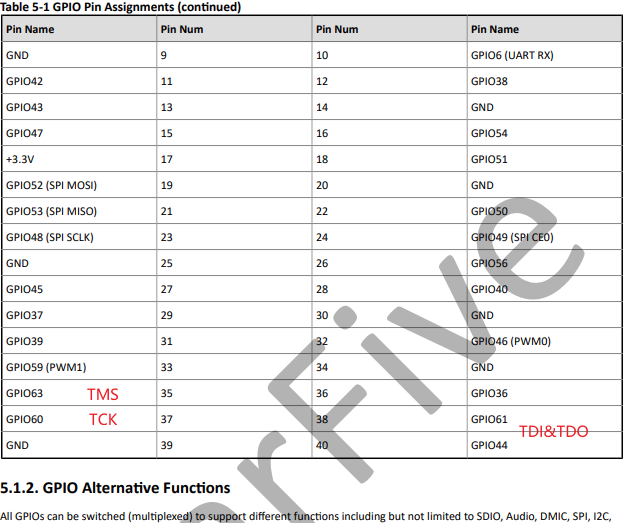
-
I also connected the jlink vtref pin to the 5 volt (gpio pin 2, see quick start guide for pin numbers) and also connected a ground pin from the jlink edu to pin 39 on the sbc
-
i also had a usb serial adaptor hooked up to my sbc
-
executed ./jconnect
-
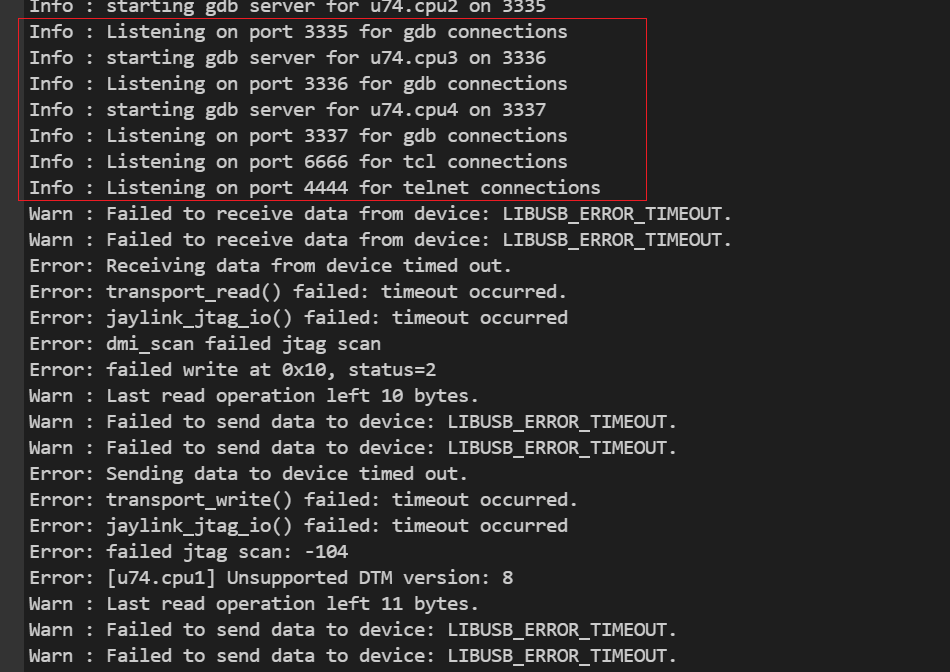
Oddly I got the following output from running the above script:
…
Device “U74-MC” selected.
Connecting to target via JTAG
ConfigTargetSettings() start
ConfigTargetSettings() end
InitTarget() start
InitTarget() end
TotalIRLen = 10, IRPrint = 0x0021
JTAG chain detection found 2 devices:
#0 Id: 0xDEB11001, IRLen: 05, Syntacore RISC-V
#1 Id: 0x20000913, IRLen: 05, Unknown device
…